Whether you’re remodeling a room, repairing water damage, or taking care of structural problems, removing the drywall is an essential step in many home improvement projects. Taking the proper precautions when removing drywall can help you avoid mistakes and save time and money. This thorough guide will walk you through the procedure, offering all the necessary steps, advice, and safety measures to ensure a quick and easy drywall removal. So, let’s get started!
Introduction
For interior walls and ceilings, drywall, plasterboard, or gypsum board are frequently used materials. Even though it’s a useful and affordable way to make smooth surfaces, there are times when it’s necessary to remove drywall. This article has provided you with the knowledge and suggestions you need to confidently take on a drywall removal project.
Understanding Drywall
What is drywall?
Gypsum plaster is sandwiched between sheets of paper to create the building material known as drywall. It offers a uniform surface that is smooth and level for finishing tasks like painting or applying wallpaper. Because it is simple to install and has the ability to produce a sleek, contemporary appearance, drywall is frequently used.
Types of drywall
There are numerous drywall varieties available, each with specific qualities. Regular drywall, moisture-resistant drywall, fire-resistant drywall, and soundproof drywall are among the most popular varieties. You can better prepare for its removal by being aware of the specific type of drywall you have.

Reasons for Removing Drywall
Renovation or remodeling
Making renovations or remodeling projects easier is one of the main reasons for removing drywall. Whether you’re remodeling a room, making it bigger, or changing the layout, it’s often the case you would have to remove the existing drywall in order to make room for your ideas.
Water damage or mold
The strength of drywall can be compromised by water damage or mold growth. It’s critical to remove the damaged drywall as soon as you notice signs of water intrusion, such as discoloration, peeling paint, or a soft and spongy texture. By doing this, you not only stop further damage from happening but also remove the threat of mold growth, which can be harmful to both your health and the structural integrity of your house.
Structural issues
Sometimes structural problems may call for drywall removal. This might entail checking for and fixing framing issues like rot, termite damage, or compromised load-bearing walls. In order to ensure the stability and safety of your home, the drywall must be removed so that a thorough evaluation and the necessary repairs can be made.
Tools and Materials Needed
It’s important to gather the required tools and materials before you start the drywall removal process. Here’s a list of items you’ll need:
Safety equipment
- Safety goggles or glasses
- Dust mask or respirator
- Work gloves
- Protective clothing
Hand tools
- Utility knife
- Pry bar or crowbar
- Hammer
- Chisel
- Screwdriver
Power tools
- Reciprocating saw or drywall saw
- Cordless drill or screw gun
- Drywall screwdriver or screw gun
Protective covering
- Plastic sheeting
- Drop cloths
Preparing for Drywall Removal
The secret to a quick and easy drywall removal process is proper preparation. As you prepare the area, do the following:
Clearing the area
To make a room more open, remove all of the furniture, decorations, and appliances. This gives you plenty of workspace and shields your possessions from dust and debris.
Turning off utilities
The area where you will be removing the drywall needs to have the electricity and water supply turned off before you start. By doing this, you can be sure that you won’t get hurt.
Covering furniture and floors
Any lingering furniture or fixtures in the room should be covered with plastic sheeting or drop cloths. Drop cloths should also be used to protect the flooring from harm caused by falling objects like tools or debris.

Step-by-Step Guide to Removing Drywall
After preparing the area, let’s get started on removing the drywall step by step:
Marking and cutting
The edges of the drywall should be scored with a utility knife where it meets corners, ceilings, and neighboring walls. This creates crisp lines and reduces needless damage to other surfaces. Next, cut vertical lines along the studs, approximately 16 inches apart.
Removing screws or nails
If there are any screws or nails holding the drywall to the studs, take them out with a screwdriver or screw gun. Ensure that all fasteners have been removed as you work your way down from the top.
Cutting through seams
Make use of a reciprocating saw or utility knife to cut through the seams where the drywall sheets are joined. This makes removal simpler and reduces the possibility of damaging nearby surfaces.
Removing the drywall
Start at the top and gently pry the drywall away from the studs with a pry bar or crowbar. As you descend, take care not to use too much force that might break or splinter the drywall. If necessary, break up tough areas with a chisel or hammer.
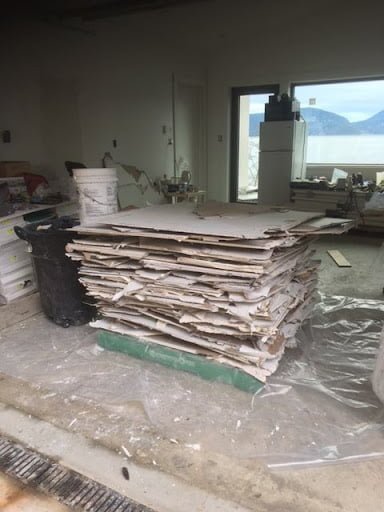
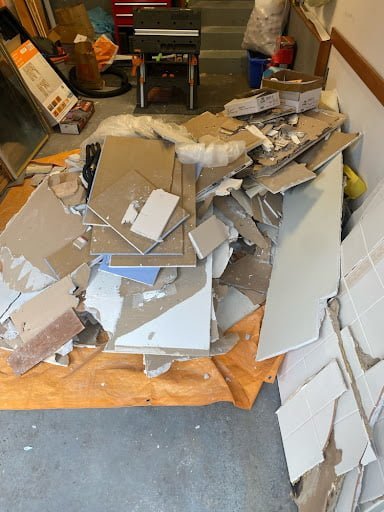
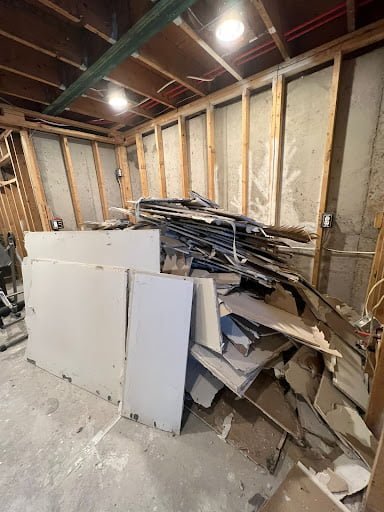
Repeat this procedure until the entire sheet of drywall has been taken out of the desired location. Carefully dispose of the trash by adhering to local laws and regulations.

Dealing with Electrical and Plumbing Systems
When working with plumbing and electrical systems while removing drywall, caution must be exercised. Follow these steps:
Turning off power and water
The power supply to any switches or outlets in the area where you’ll be working should be turned off before you start. In order to avoid electrical risks, find the relevant circuit breaker and turn it off.
In the same way, shut off the water valves if there are any nearby plumbing fixtures or water supply lines to prevent any potential leaks or water damage.
Relocating or protecting wires and pipes
Be careful around any plumbing or electrical wiring that is hidden behind the drywall. Wires should be carefully moved out of the way and fastened with tape or wire clips. To prevent accidental damage to plumbing pipes, use pipe sleeves or covers.
Disposing of Drywall Waste
It’s crucial to properly dispose of drywall waste if you want to keep your workplace safe and tidy. Consider the following guidelines:
Local regulations
Check your local laws to see how drywall and other construction waste are to be disposed of. Some places might have specific rules or recycling initiatives in place. Make sure you abide by these rules to reduce your impact on the environment and possible fines.
Recycling options
Recycling drywall is a common option that is more environmentally friendly and sustainable. Find out if there are any drywall recycling facilities or construction waste recycling facilities in your area. Sort the drywall from other trash before bringing it to the designated recycling facility.
Proper disposal methods
If recycling options are not available where you live, you might need to dispose of your drywall waste in accordance with local regulations. This might entail booking a junk removal service or renting a dumpster just for construction waste. Make sure the trash is contained safely and disposed of properly.
Repairing and Patching
Before continuing with your intended project after the drywall has been taken down, you might need to deal with any damage or make repairs. Here are some steps to consider:
Assessing damage
Examine the underlying structure for any damage or deterioration, such as the studs or framing. To ensure a strong foundation for the fresh drywall or finishing materials, replace any weakened or rotten sections.
Replacing damaged studs or framing
It might be necessary to replace any severely damaged studs or framing that you come across while removing the old material. To determine the best course of action and determine the extent of the damage, speak with a qualified structural engineer or contractor.
Applying new drywall or patching compound
After making any necessary repairs, you can move on to installing new drywall or using a patching compound to cover up any flaws. Applying the product correctly requires following the manufacturer’s instructions, and you should give it enough time to dry and cure.
Finishing Touches
Consider the following finishing touches to complete your drywall removal project:
Sanding and smoothing
Apply sandpaper or a sanding block to the surface to smooth it after the patching compound has dried. By doing this, a smooth transition between the repaired area and the nearby drywall is ensured. Before moving on to the next step, clear the area of any dust or debris.
Priming and painting
To encourage adhesion and guarantee uniform color, prime the repaired area before applying paint or any other finish. To achieve the desired aesthetic, paint the entire wall or ceiling after the primer has dried.
Congratulations! You have successfully completed the process of removing drywall and preparing the surface for further improvements or renovations.
Conclusion
Learning how to remove drywall is a valuable skill that can save you time and money in various home improvement projects. By following the step-by-step guide outlined in this article, you can confidently tackle drywall removal while ensuring a safe and efficient process. Remember to prioritize safety, comply with local regulations, and consider seeking professional assistance for complex or extensive projects.
FAQs
Q: Can I remove drywall by myself?
A: Yes, you can remove drywall by yourself with the right tools, materials, and knowledge. However, it’s essential to prioritize safety and follow proper procedures to avoid injuries or damage.
Q: How long does it take to remove drywall?
A: The time it takes to remove drywall can vary depending on the size of the area, the complexity of the project, and your level of experience. Smaller projects may take a few hours, while larger ones may span multiple days.
Q: Are there any health hazards associated with removing drywall?
A: Removing drywall can generate dust and debris, which may pose health risks if inhaled. It’s important to wear appropriate safety equipment, such as goggles, a dust mask, and gloves, to protect yourself from potential respiratory irritants and injuries.
Q: What if I encounter unexpected issues during the process?
A: It’s common to encounter unforeseen challenges when removing drywall, such as hidden electrical wires or plumbing pipes. If you come across any unexpected issues, it’s best to consult a professional contractor or seek expert advice to ensure safety and proper resolution.
Q: Can I reuse or repurpose old drywall?
A: Reusing or repurposing old drywall is not recommended due to the potential for hidden damage, mold contamination, or diminished structural integrity. It’s safer and more efficient to dispose of old drywall responsibly and use new materials for your projects.
Q: How can I ensure the smoothest finish after removing drywall?
A: To achieve a smooth finish after removing drywall, pay attention to the details. Properly patch and repair any damage, sand the surface to remove imperfections, and use high-quality primers and paints. Take your time and follow best practices to achieve the desired result.


Leave a Reply
You must belogged in to post a comment.